Determining your physiological breakpoints is a must, for training as optimally and efficiently as possible. To determine your breakpoints with Moxy you can conduct a simple graded exercise test. Following the test you can identify your unique physiological breakpoints and create truly personalized training zones.
In this post we break down all the steps you need to follow to create your individualized training zones.
Setting Up Your Breakpoint Assessment
Equipment needed:
- Moxy Monitor
- A way to control exercise intensity (power meter, controllable trainer, or treadmill)
- Recording device (Garmin, smartphone app, etc.)
- Optional but recommended - a heart rate monitor.
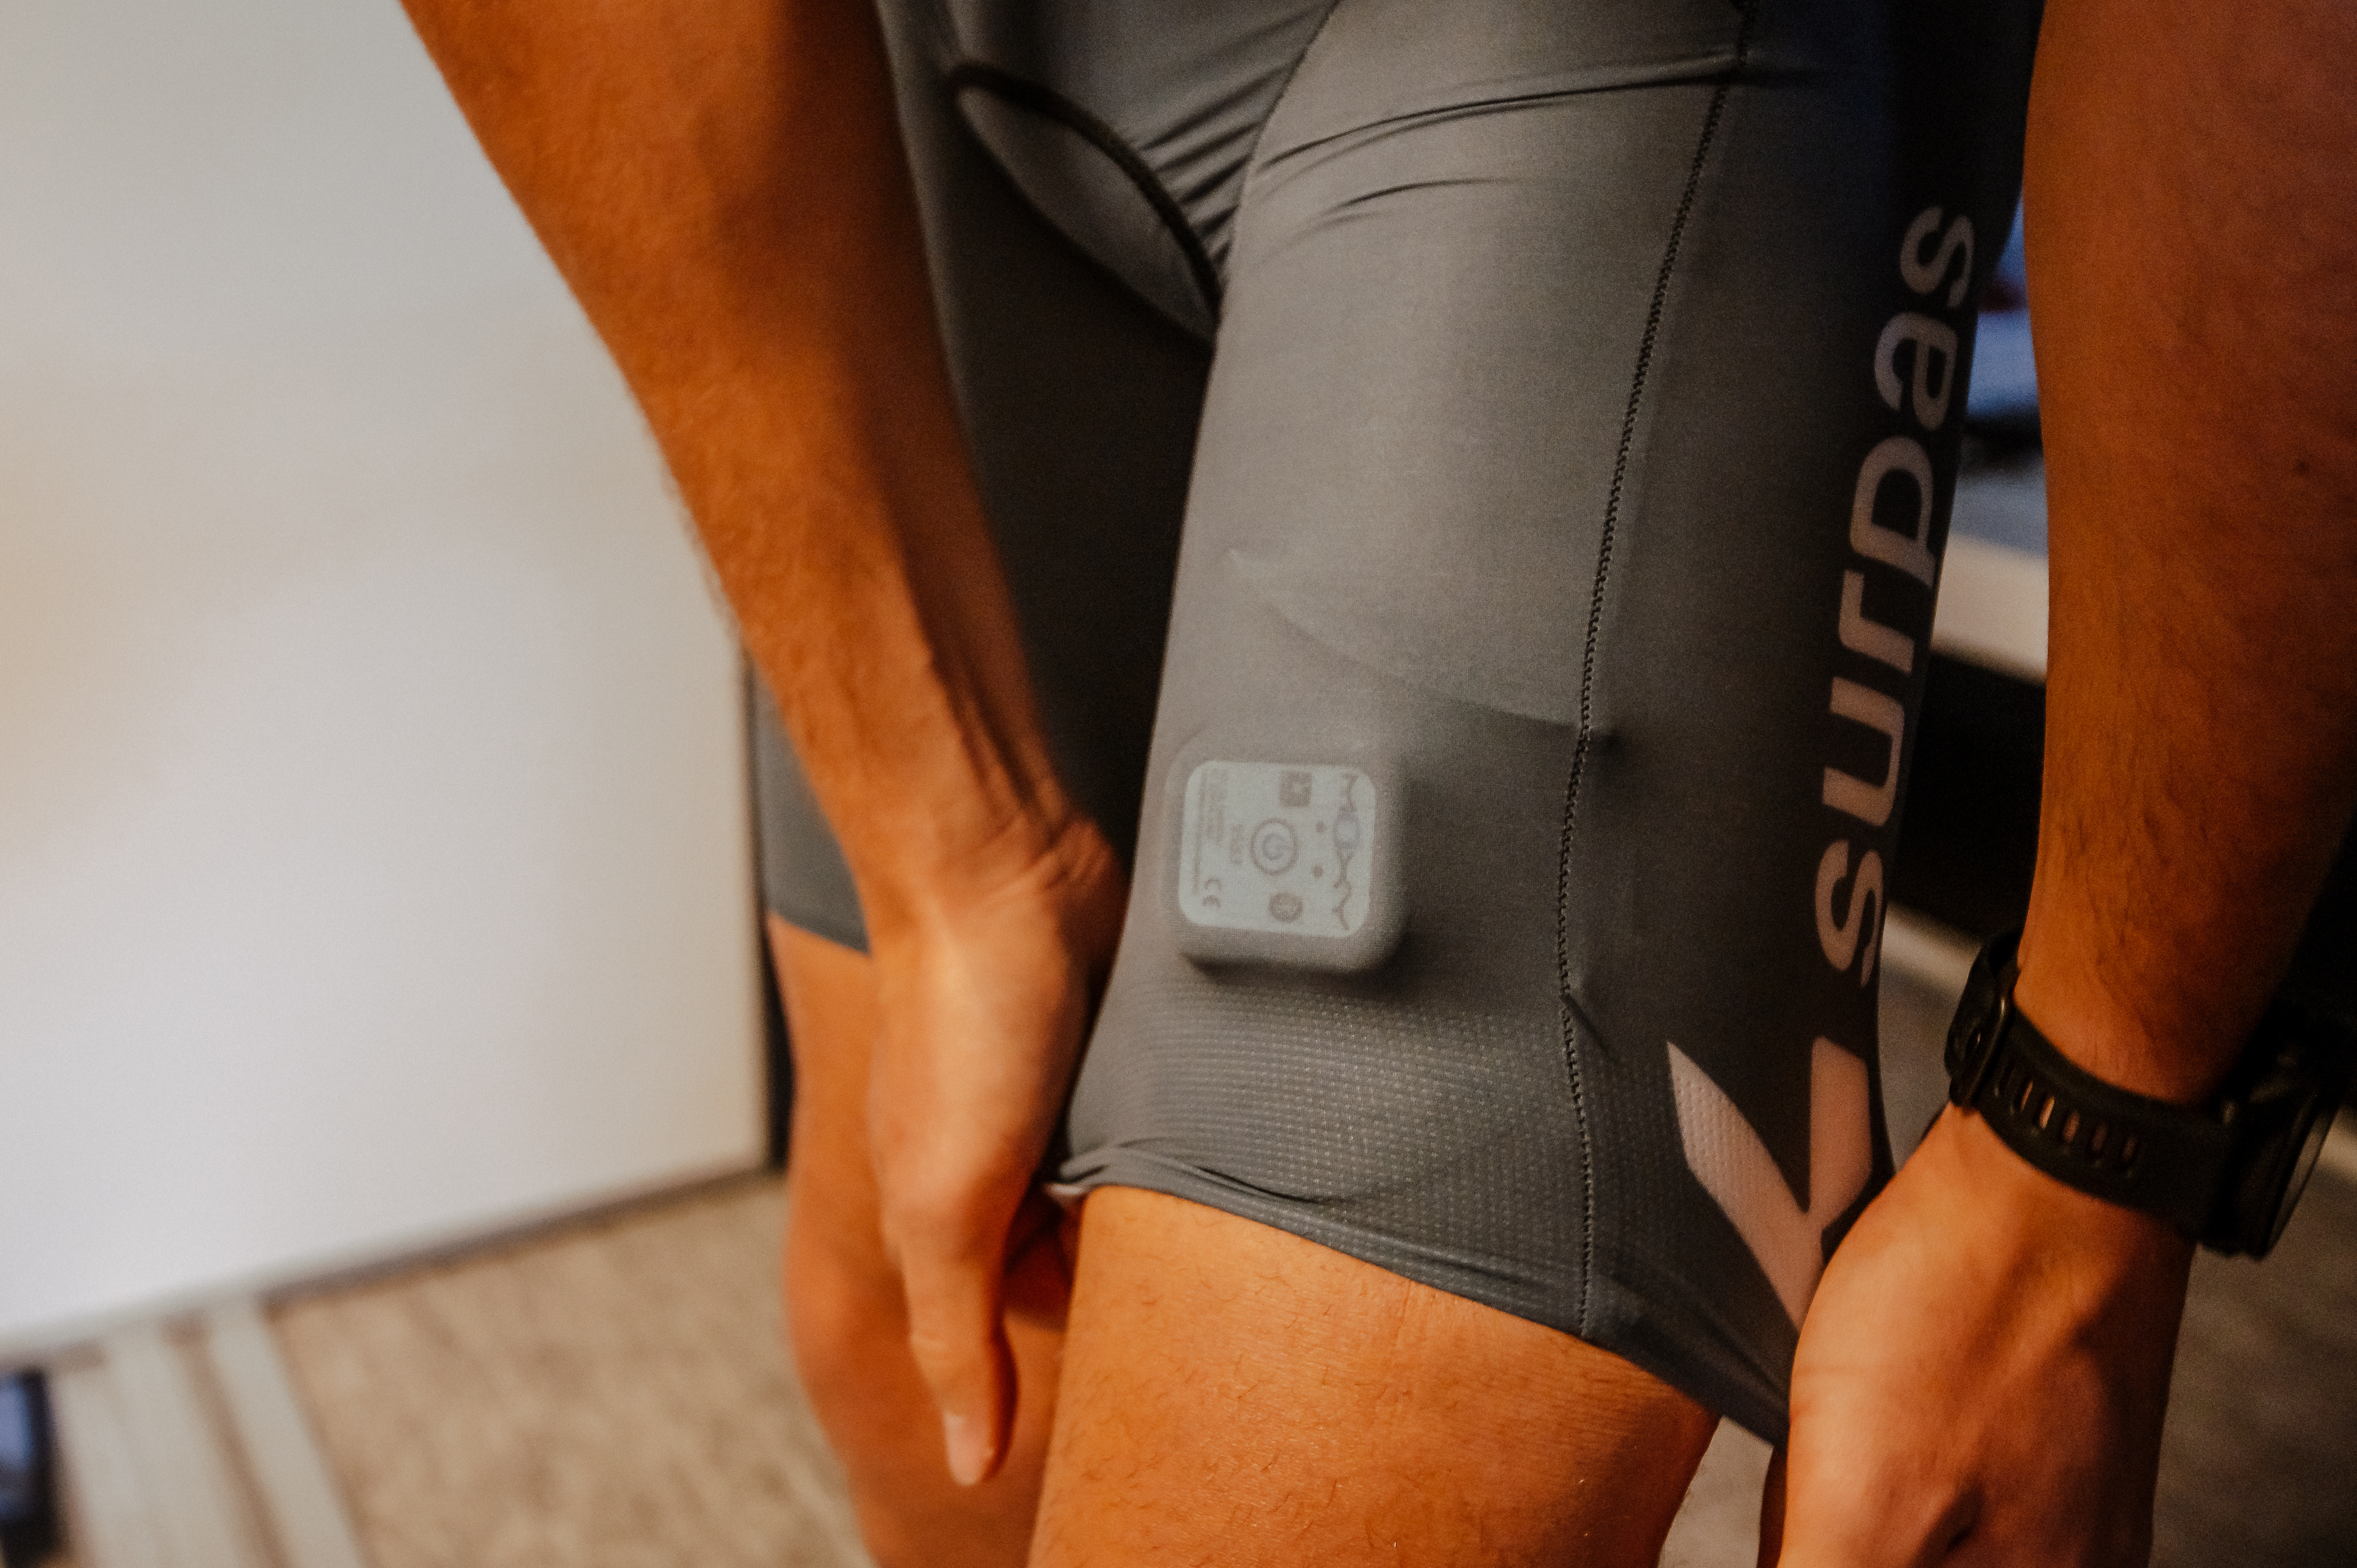
Placement: Place the Moxy sensor on a primary working muscle:
- For cycling: vastus lateralis (outer thigh)
- For running: vastus lateralis or gastrocnemius (calf)
Completing Your Assessment
- Warm up properly – Spend 5-10 minutes gradually increasing intensity you do not need to warm-up a ton as the beginning of the test will act as a warm-up
- Choose your protocol:
- Step test: Increase intensity every 1-5 minutes (easier to analyze)
- Ramp test: Continuous increase in intensity (more time-efficient)
- Start at low intensity – Begin well below your estimated first threshold, even for well-trained athletes I recommend starting at 60w on the bike, or 9kph on the treadmill
- Increase gradually – Add ~20 watts or 0.3/0.5 mph/kph per stage
- Continue to exhaustion – The test should last 15-30 minutes total (including the warm-up
It should be noted that your protocol matters! Read more about potential limitations to certain types of protocols here
Analyzing Your Results
After your test, plot your SmO2 values against time or power/speed. You'll typically see a pattern like this:
- Initial drop in SmO2 as you begin exercise
- First breakpoint (BP1): Where SmO2 goes from increasing to stabilizing
- Second breakpoint (BP2): Where SmO2 begins to continuously decrease without stabilizing
These breakpoints correspond to critical physiological transitions:
- BP1 marks the transition from primarily fat oxidation to increased carbohydrate use
- BP2 marks your critical oxygenation point, similar to lactate threshold or critical power
Now draw three lines.
- The first line should be drawn from the beginning of the data, until the data breaks away from following a set trend.
- Then draw a second line, from the END of the data until the data breaks away from that line.
- Finally, draw a third line that connects the rest of the data and overlaps with the other two lines.
Where the data intersects are your breakpoints. The first breakpoint is BP1 and the second is your BP2 (shown in the picture below). Using the breakpoints, find the associated power and heart rate.

Creating Your Personalized Training Zones
Using your breakpoints, you can now establish three primary training zones:
- Zone 1 (Recovery/Endurance): Below BP1
- SmO2 stabilizes or increases
- Fat-burning zone
- Easily sustainable for hours
- Perfect for recovery and building aerobic base
- Zone 2 (Threshold): Between BP1 and BP2
- SmO2 starts lower but stabilizes
- Mix of fat and carbohydrate utilization
- Sustainable for 30-90 minutes
- Ideal for tempo/threshold work and sweet spot training
- Zone 3 (High Intensity): Above BP2
- SmO2 continuously decreases
- Primarily carbohydrate utilization
- Sustainable for limited time (minutes, not hours)
- For interval training and VO2max work
.png?width=2240&height=1260&name=Moxy%20Blog%20pictures%20(1).png)
Why This Matters
Unlike generic formulas, these zones are:
- Based on YOUR unique physiology
- Adjustable for daily variations in fitness
- Directly tied to what's happening in your muscles
- Measurable in real-time during every workout
Best of all, you can perform this testing anywhere – no expensive lab equipment or blood samples required. Moxy brings laboratory-quality physiological assessment to your regular training environment, but this is just the first step to utilizing muscle oxygen within your training.
Interested in learning how to create your training zones using Moxy? Download the Training and Racing with Moxy eBook below!
